

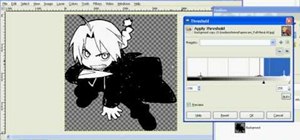
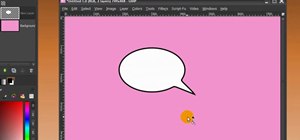
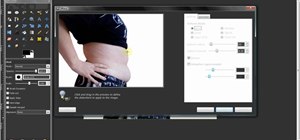
In this tutorial, we learn how to make 2-layer stencils in GIMP. First, cut out the background before you begin. Now, right click on your main layer and then select "add alpha layer". After this, select the magic wand tool and delete all the white areas on the outside of the picture. Now duplicate the layer, then hide the top layer and select the bottom layer. Now, go back to threshold and move it all the way to the right to get an outline of the image. From here, go back up to the top layer and then select threshold again. Move the bar until you have the stencil how you want it. Then, when you have finished you can save it and use it how you want.
Just updated your iPhone? You'll find new emoji, enhanced security, podcast transcripts, Apple Cash virtual numbers, and other useful features. There are even new additions hidden within Safari. Find out what's new and changed on your iPhone with the iOS 17.4 update.


Be the First to Comment
Share Your Thoughts