

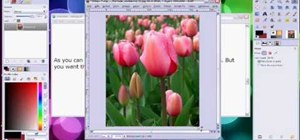
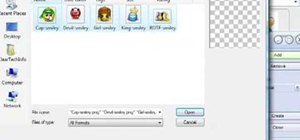
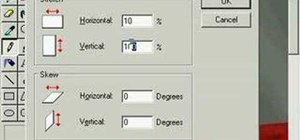
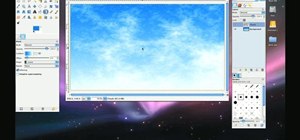
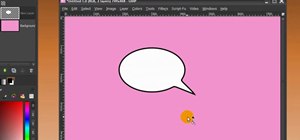
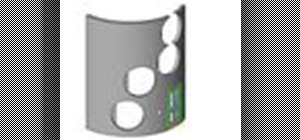
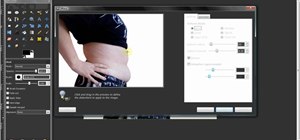
Video demonstrates how to make rounded corners in GIMP. First step is to open an image. The image needs to have transparency for this to work. An alpha channel is to be added to the image. This can be done by going to the layer option in that select transparency and add alpha channel. By doing this if the picture grays out it means the image already has transparency and there is no need to add an alpha channel. Now Select option is selected and in that rounded rectangle is selected. The radius is reduced to 21 from 50. Now the picture has a selection with rounded corners and these corners are to be removed. For this again the select option should be selected and in that invert option is selected. Now the selection is in the corners. Delete key is to be pressed to delete the corners. Now gray check board appears in the corners, this means the corners are transparent and will not appear if we paste it anywhere on the web. The file should be saved with .png extension, file formats like .jpg don't support transparency and the corners will turn white.
Just updated your iPhone? You'll find new emoji, enhanced security, podcast transcripts, Apple Cash virtual numbers, and other useful features. There are even new additions hidden within Safari. Find out what's new and changed on your iPhone with the iOS 17.4 update.


Be the First to Comment
Share Your Thoughts