How-To Guides about Software Tips

how to
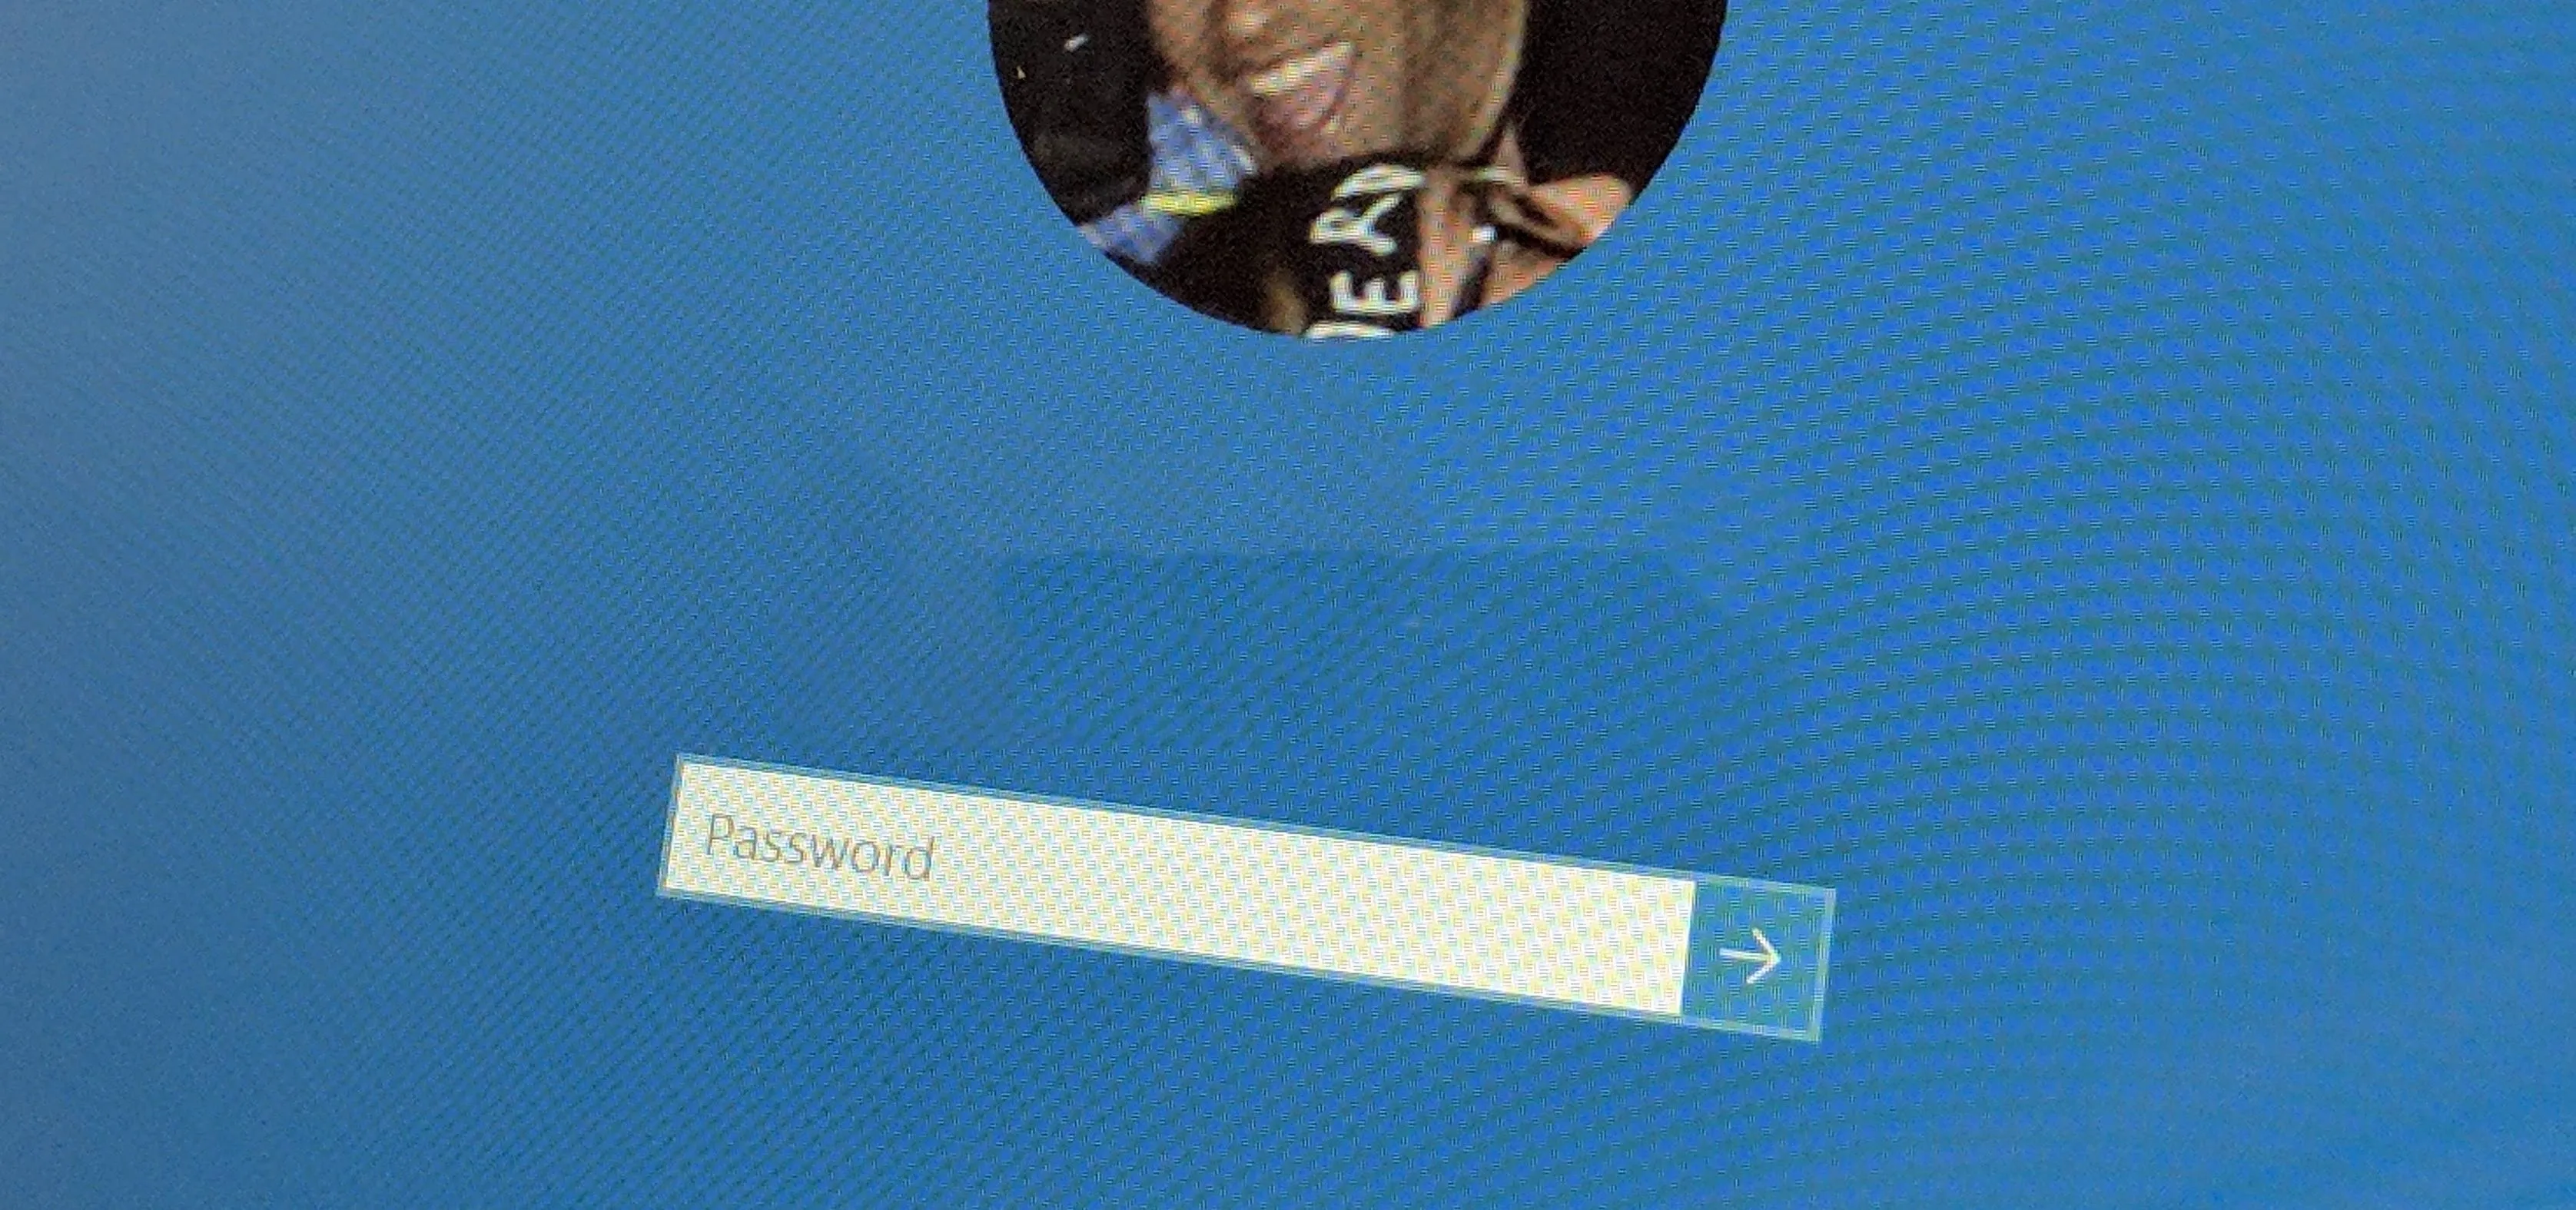
How to Bypass the Password Login Screen on Windows 8
how to
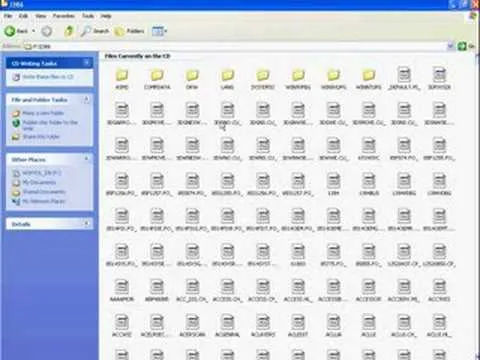
How to Get the CD Product Key or Serial Off of Any CD
how to
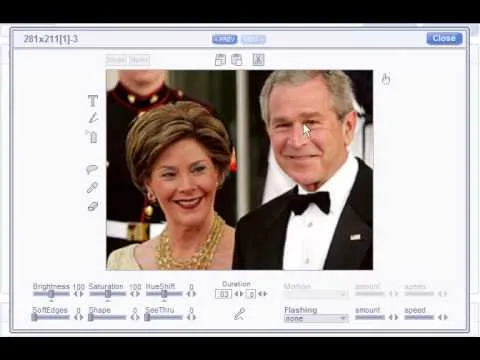
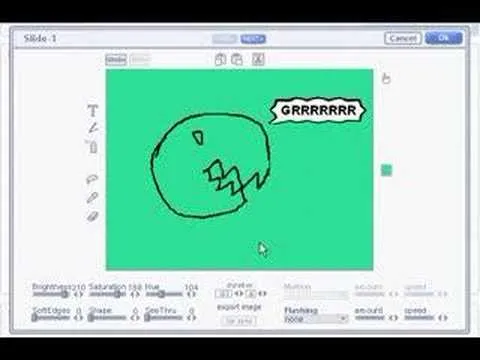
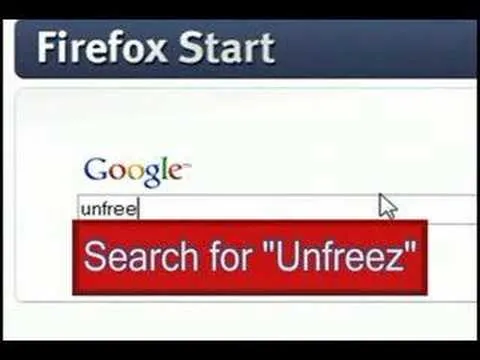
How to Make Talking Heads of President & Lady Bush


Featured On WonderHowTo:
Productivity & Shortcuts


Featured On WonderHowTo:
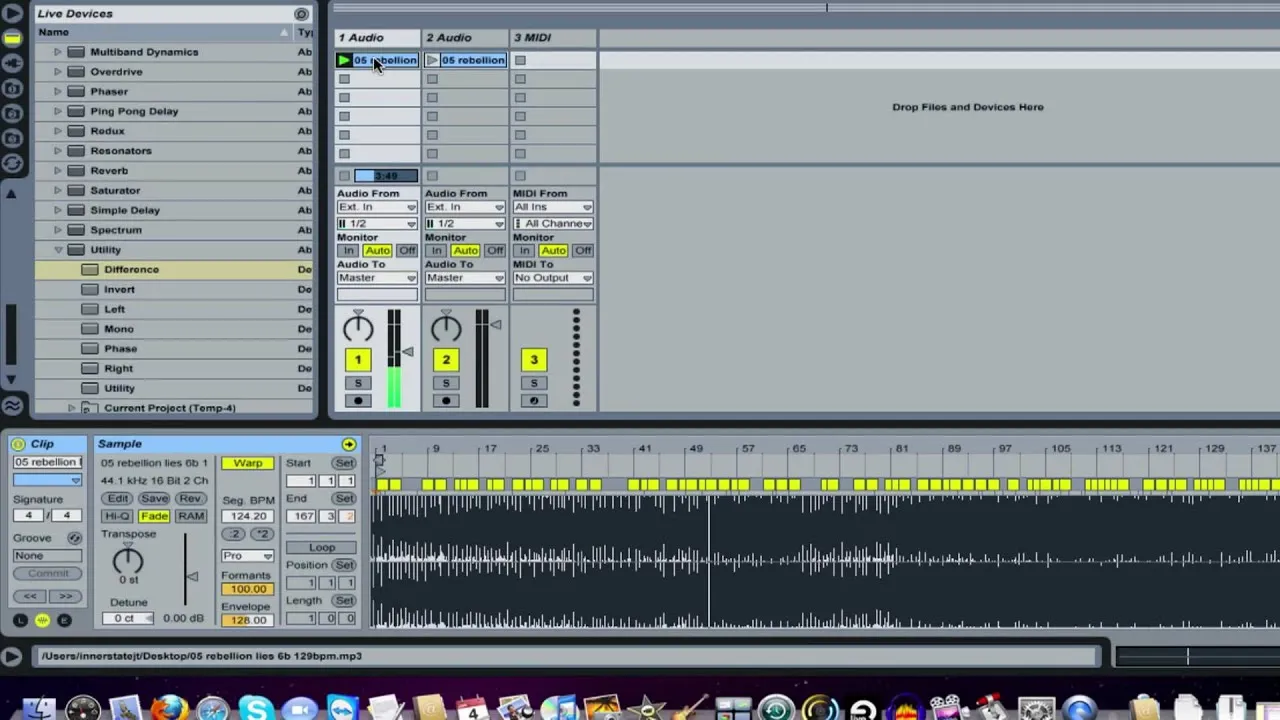
Music & Audio


Featured On WonderHowTo:
Augmented Reality


Featured On WonderHowTo:
Gaming