how to
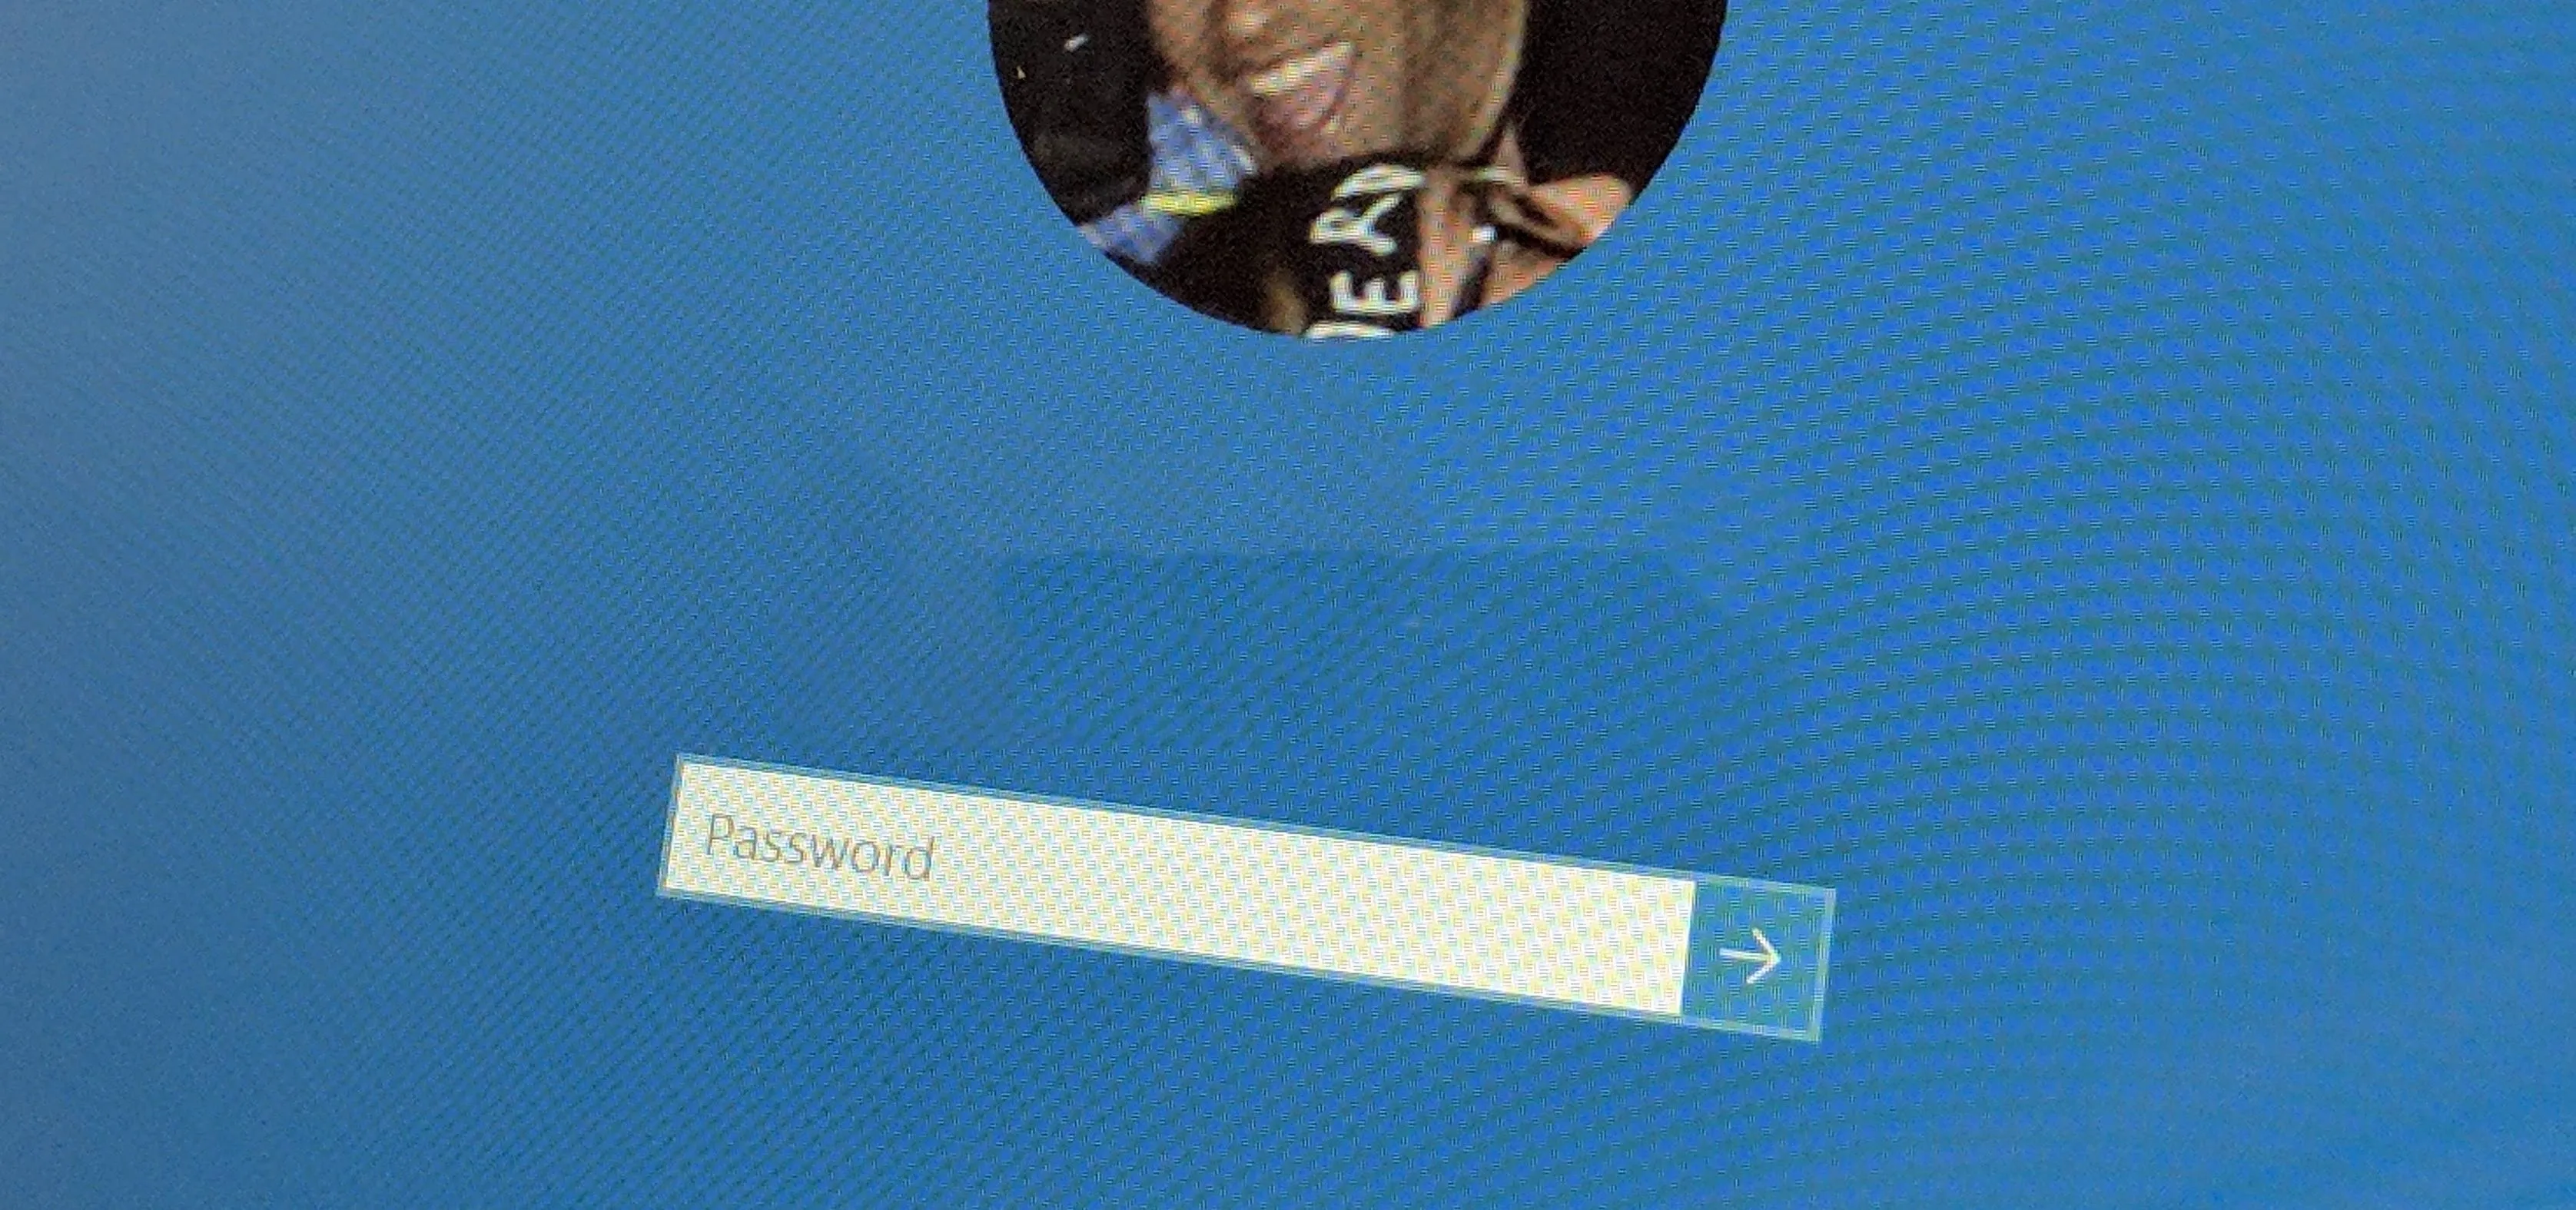
How to Bypass the Password Login Screen on Windows 8

how to
How to Make a Windows-to-Go Ready USB Drive in Windows 8

how to
How to Remove Annoying Ads from Your Spotify Tunes


Featured On WonderHowTo:
Productivity & Shortcuts


Featured On WonderHowTo:
Music & Audio


Featured On WonderHowTo:
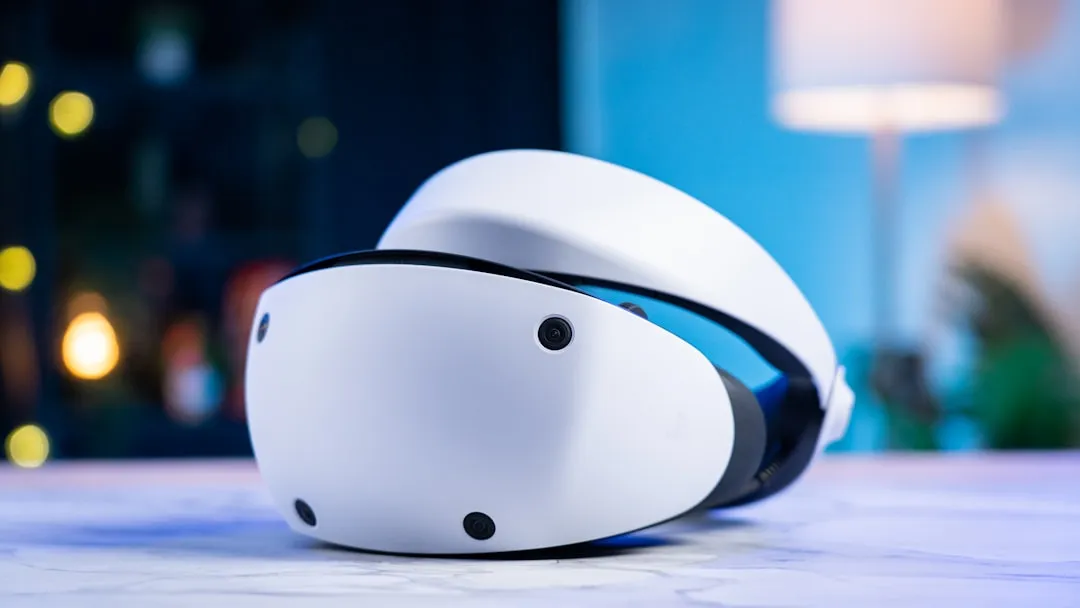
Augmented Reality


Featured On WonderHowTo:
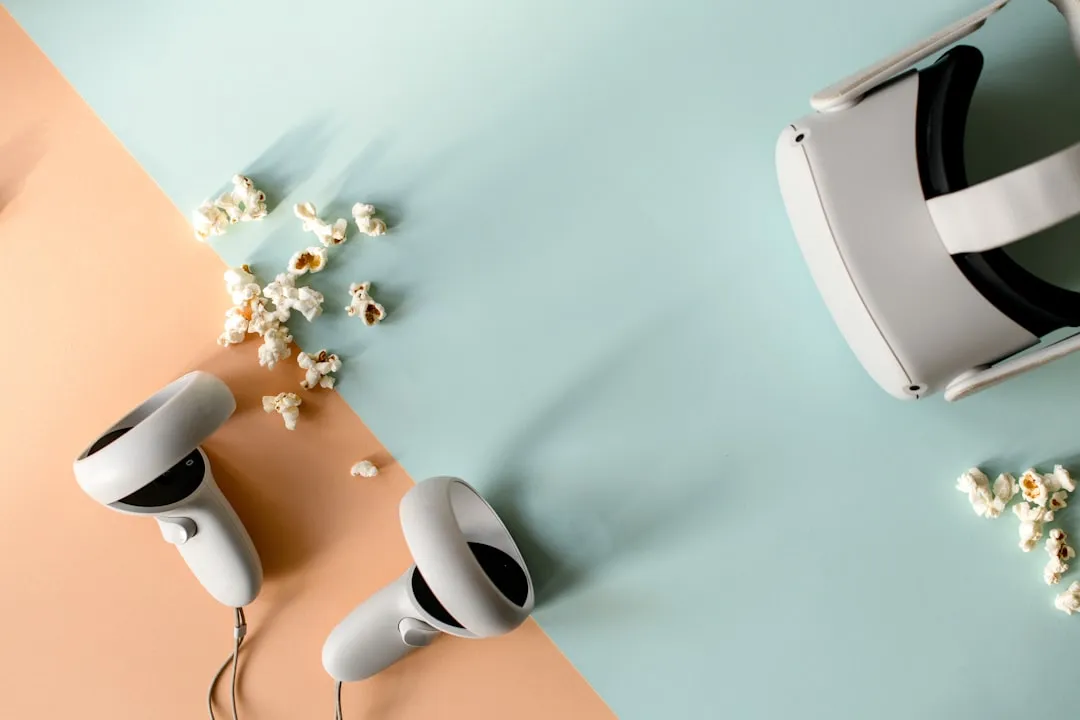
Gaming