


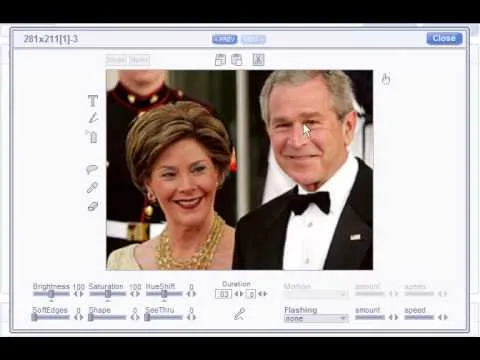
In this tutorial, we learn how to insert pictures and format text in Fusion Essentials. Start by selecting your image and then clicking inside the text box. Select an image, then it will appear in the text box. From here, click on the picture and go to the alignment section. Choose how you want the text arranged around the image. You can justify it to the left, center, and right. You can also wrap the text around the image. Preview the page after you align it, then see if it allows the page to flow correctly. When you are finished, you will be able to save and you're finished!

Apple's iOS 26 and iPadOS 26 updates are packed with new features, and you can try them before almost everyone else. First, check Gadget Hacks' list of supported iPhone and iPad models, then follow the step-by-step guide to install the iOS/iPadOS 26 beta — no paid developer account required.


Comments
Be the first, drop a comment!