First of all launch the program "Nero 7". Now click on "cd" and then click on "cd-rom boot'. From the new screen choose ' image file' and then click on 'browse'.Now go to the 'drive d' and select 'windowsxp-boot image' folder and then select 'boot.ima' file. Now click on 'open'. Now click on 'advanced' and then click on 'no emulation'. Select the ‘number of loaded sectors' and increase it to '4'. Now click on 'ISO' and then make sure that all the data is same as that on the tutorial.
Now click on 'label' and then change the ‘disc name’ to 'wXPcp_en'.
Now click on 'dates' and then 'misc'. Make sure that the data is same as given in the tutorial.
Now click 'burn' and then hit the 'new ' button.
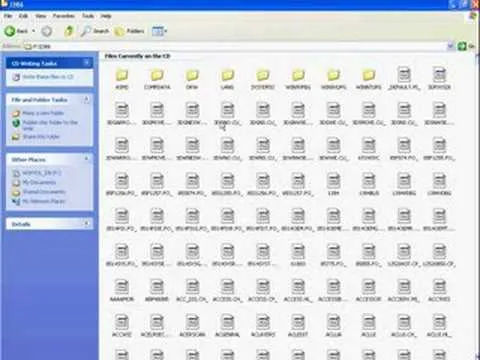
Now browse for the 'Windows xp sp3' set up files on your local hard rive. If you don’t have it then you can download it from [http://www.microsoft.com/downloads].
Select all the files from the folder and then drag them to your compilation. You can also add other files like ‘DirectX’, ‘device drivers’ or anything that still fits in your ‘cd-R’ capacity. The tutor recommends compiling it on a separate folder. Make sure that your ‘DVD writer’ is selected before hitting the ‘burn’ button. In this tutorial the tutor is using his ‘image recorder’ to stimulate ‘cd burning’. Now double check all your ‘settings’ . Make sure you have noted it all down for review. Now check on the 'finalize disc' check box. Now hit the ‘burn’ button. Wait till it is finished. Hit ‘ok’ and it’s done. ‘Cd’ will eject and then exit ‘Nero’. That’s it.












Comments
Be the first, drop a comment!