


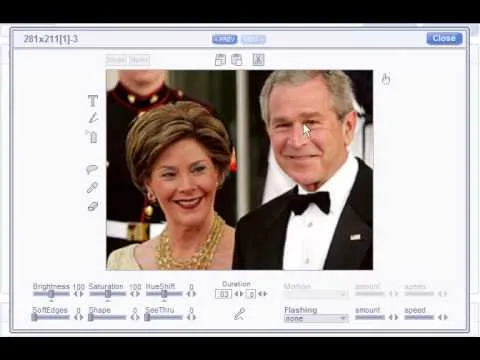
In this tutorial, we learn how to create a Warhol effect in GIMP. First, you will need to take your image and open it up in GIMP. After this, you will need to resize this so that four of these fit into one square next to each other. From here, create a new layer and then layer it to size. After this, change the hue and saturation of the photos. Then, change the lightness and make it any color you like. Then, do the same for the other photos in different layers. Save this when finished, then you will have finished the Warhol effect!
Apple's iOS 26 and iPadOS 26 updates are packed with new features, and you can try them before almost everyone else. First, check Gadget Hacks' list of supported iPhone and iPad models, then follow the step-by-step guide to install the iOS/iPadOS 26 beta — no paid developer account required.


Comments
Be the first, drop a comment!