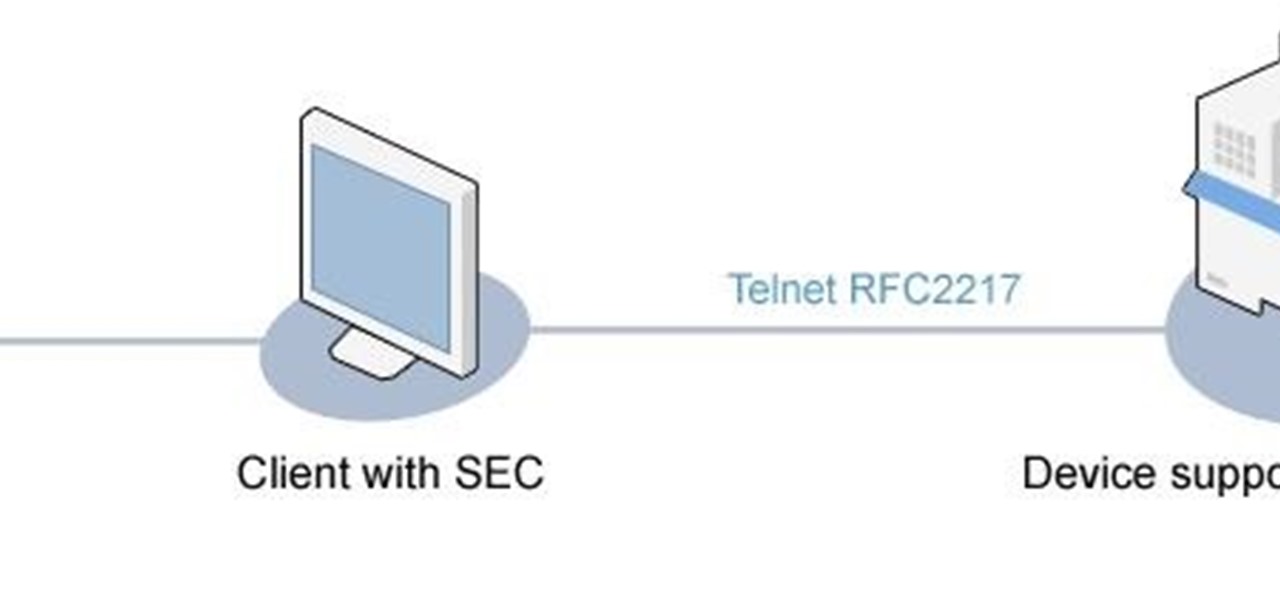

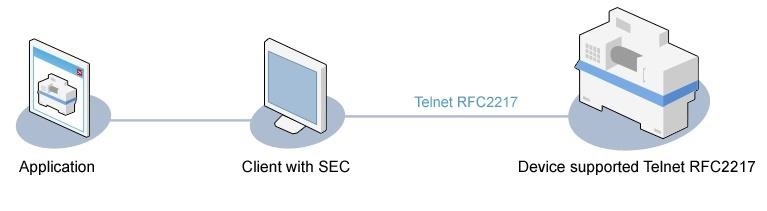
Serial data communication is what we use to communicate over long distances. With the help of Serial to Ethernet Connector COM ports connect PC/servers to remote serial devices. Creating a Serial Port connection is fairly easy, see below.
Step 1: Download and Launch
Open Serial to Ethernet Connector and find 'Create Server Connection' in the main window, select it.
Step 2:
The application will ask you to set up your connection. The basic parameters are as follows:
Connection Name. You can either give your connection a unique name or leave the default value. Default system name such as ServerCOM1 indicates the type of connection and the number of the local serial port used to create it.
Select Serial Port. The port you'd like to share, enter its name or choose it from the drop-down list.
Create as Virtual Port. Virtual serial ports in many ways are more convenient than physical hardware ports. They fully emulate the characteristics of physical ports, and you can create any number of them. The only limitation is the capabilities of your system.
Strict baudrate emulation. Tick this option if you connect virtual and physical ports. It will allow both of them work at the same speed, thus preventing any data loss.
TCP port. This is the port your server should listen to. If you are not sure what value you should enter, leave it the way it is.
Step 3: Create Connection
Click 'Create Connection' button and check if it appeared in the Connections tree to the left. You can also open the local serial port to confirm whether it was actually created – Windows HyperTerminal or Advanced Serial Port Terminal will help you do that.
Step 4: 'Client' Connection
Now you need to create and setup 'Client' connection at the remote end. 'Client' and 'Server' connections values such as the remote host name and port number should match.


Be the First to Respond
Share Your Thoughts