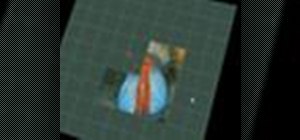
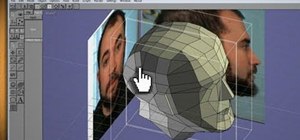
This series of videos focuses on a typical UV workflow in Houdini 9. Learn how to create projections, edit UVs with a variety of tools, save out UV maps, and apply textures. Please download the project files below to follow along with these Houdini 9 texturing lessons.
1. Simple UVs:
Start with this lesson, it quickly covers the major steps we will use in the subsequent 4 lessons. This is a good overview showing the tools and workflow that will be repeated many times.
2. Creating UVs For a Seagull Model:
This lesson repeats the steps from the last lesson with an imported model. We define a particular workflow and create multiple UV groups to account for the whole model. We also explore the use of visibility sops to control the areas that we wish to work with. We leave the example prepared for subsequent lessons which will look at the internal workings of the uvpelt sop and roughly editing the uv's.
3. Creating a Material:
This lesson provides an excuse to cover how to create a material from scratch. This material will be capable of applying a texture to our uv groups. Creating the material basically follows the process that was used to create all the materials in the default gallery. Trust me, it will be fun.
4. Rough Edit of UVs:
We encounted a couple of problems in lesson 3 that we will rectify in this lesson and then carry on with roughly editing each uv group with the parameters in each uvpelt sop.
5. Refining Uvs:
At this stage we have the opportunity to refine the uv's in each group with uvbrush and uvedit tools. We also need to consider how to manage this editing process, so we explore one possible way of doing that. Due to Houdini's flexibility there are many ways to approach the same needs. We explore how to save out uv maps as templates for use in a texture painting application. Near the end of the lesson I propose a stage of editing whereby the geometry is saved out from Houdini 9.
Just updated your iPhone? You'll find new emoji, enhanced security, podcast transcripts, Apple Cash virtual numbers, and other useful features. There are even new additions hidden within Safari. Find out what's new and changed on your iPhone with the iOS 17.4 update.












Be the First to Comment
Share Your Thoughts