

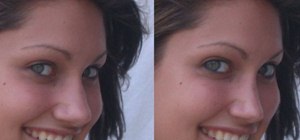
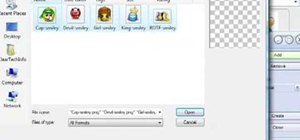
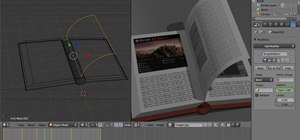
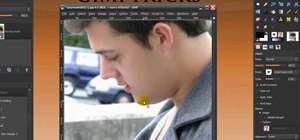
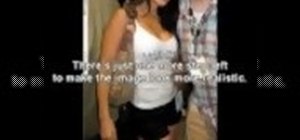
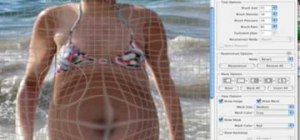
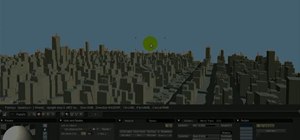
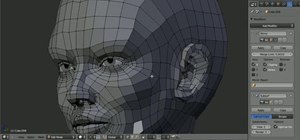
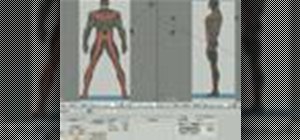
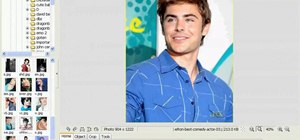
See how to do localized image distortion using Blender. The rig is a simple UV-textured plane filmed using an orthographic camera. You then subdivide the plane, add some curve guides, and use proportional editing to alter an image. The above before-after shot shows a nose job (rhinoplasty), teeth filing, raise cheekbones, enlarged eyes, and a lengthened face. Whether you're new to the Blender Foundation's popular 3D modeling program or a seasoned graphic artist just interested in better acquainting yourself with the application, you're sure to be well served by this free video tutorial. For more information, including detailed instructions, take a look!
Just updated your iPhone? You'll find new emoji, enhanced security, podcast transcripts, Apple Cash virtual numbers, and other useful features. There are even new additions hidden within Safari. Find out what's new and changed on your iPhone with the iOS 17.4 update.


1 Comment
YES is VERY GOOD
Share Your Thoughts