

Open up the GIMP on your computer, and then proceed to open up the photo you wish to modify.
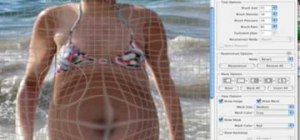
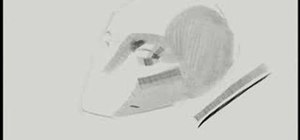
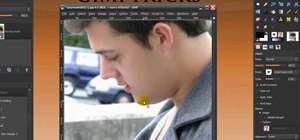
Now, select the scissors tool from your Tool palette or by clicking "Tools" on the menu bar, then click "Selection Tools," and also click "Intelligent Scissors." Use this tool to outline the person's hair in the photo by clicking along the hairline at about 1/4-inch intervals until you return to the first place you clicked.
Click in the center of the selection you just completed, and the outline should turn to "marching ants."
Hold "Ctrl" on your keyboard and select "C" for copy. Then hold "Ctrl" again and select "V" for paste. In your "Layers" palette, you should now have a new layer that says "Floating Selection (Pasted Layer)." Right-click on that layer and then select "New Layer." You should now have a layer that consists exclusively of the person's hair. Make sure that the new layer is selected for the next step.
Click on the "Colors" option in the menu bar, and then select "Hue-Saturation." A new window will pop up with some options that will allow you to modify the color, lightness and saturation of the layer.
Now, move the "Hue" bar by clicking and dragging it back and forth until you find the desired hair color. As you drag the bar, the color of the hair in the image will change, but the rest of the image will remain the same. You can also play with the "lightness" and "saturation" bars if you'd like to further customize the look of the hair.
Click "OK" once you've found the desired color, and the hair color will now be changed in the image.
Just updated your iPhone? You'll find new emoji, enhanced security, podcast transcripts, Apple Cash virtual numbers, and other useful features. There are even new additions hidden within Safari. Find out what's new and changed on your iPhone with the iOS 17.4 update.


Be the First to Comment
Share Your Thoughts