

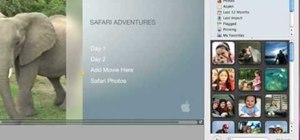
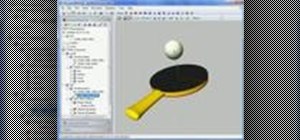
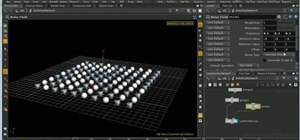
Once you have finished with your ' iDVD' project then you would like to burn it to make a DVD to share it with your family and friends. First of all you need to double check your project for finding any problem in it. To do this, you have to click the "map" button in the toolbar and then drag the slider to view the entire flowchart of the entire menus and media. In case there are any problems anywhere then you shall notice some yellow or red warning symbols. You can point to any symbols and then view the reasons for these problems. In this tutorial the tutor added the movie button but forgot to add the movie to the button. Therefore there is red color point indicating this problem.
You can fix it easily. Double click the warning button‚ which shall take to you to the menu. Then click "media" and then click "movie". Now you have to find the movie that was meant for this button. Now you have to drag the movie to the button. Now click the "map" button again. You shall find that the warning signal has gone away. When you want to burn the DVD, you have to click the "burn" button and then insert a blank DVD into the Mac. When the burn is complete you shall have your own custom DVD which you can view in any DVD equipped computer or DVD player.
Just updated your iPhone? You'll find new emoji, enhanced security, podcast transcripts, Apple Cash virtual numbers, and other useful features. There are even new additions hidden within Safari. Find out what's new and changed on your iPhone with the iOS 17.4 update.


Be the First to Comment
Share Your Thoughts