
While you may not have loads of secret files hiding on your computer, there might be one or two items that need a little extra security, like a file of website logins or a folder of risqué photos.
Mac OS X does have FileVault as a good security option, which uses XTS-AES 128-bit encryption to password-protect your entire hard drive, but this is a drastic measure to take unless you're prone to theft. There is also the chance that it will slow down your computer, especially at startup.
If you're looking for another way to protect your personal files in Mac OS X, keep reading, as I'll be covering ways to password-protect individual files and folders using iWork, Microsoft Office, Automator, Disk Utility, Terminal, and more. We had previously done a guide on this, but things have changed a lot since then. This updated guide focuses on Yosemite (10.10), though the methods may still work on older systems.
Using Apple iWork (Keynote, Numbers, & Pages)
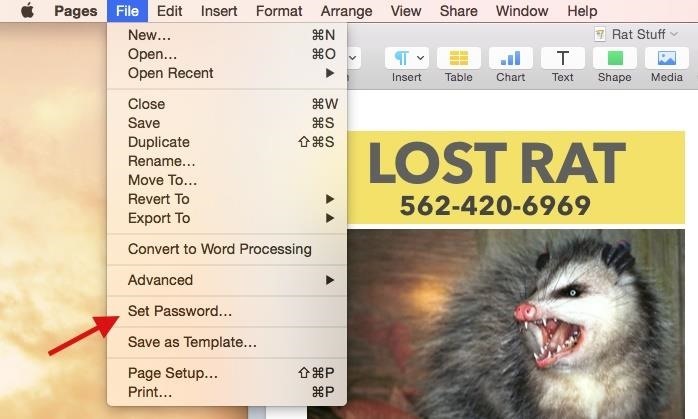
All three of Apple's productivity apps, Keynote, Numbers, and Pages, have password-protection features built in. After finishing up whatever you're working on in any of the three iWork apps (I'll be using Pages as an example), do the following.
- Select "File" in the menu bar.
- Click on "Set Password."
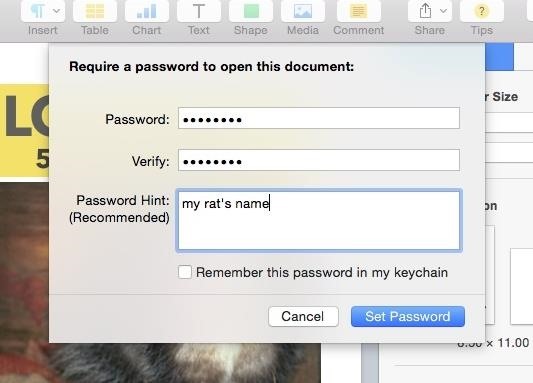
- Enter a password, then verify it.
- Leave a password hint (optional, but suggested).
- Click on "Set Password."
Your file will appear with a lock icon instead of the typical iWorks one. When you open it, it will ask you to enter your password.

To remove password-protection in iWork, select "Change Password" from "File" in the menu bar, input your "Old Password," then select "Remove Password."
Alternative Method:
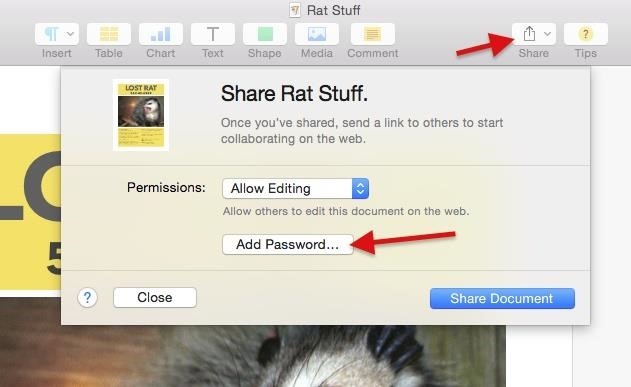
There is also another way to access the password setup screen that may be a little bit quicker, depending on your workflow. Instead of going to File -> Set Password, you can hit the "Share" icon in the toolbar, then "View Share Settings," then "Add Password."
Removing passwords is similar to the other method. Hit "Share" again, select "Change Password," input your "Old Password," then select "Remove Password."
Notes for iWork for iCloud & iOS:
If you want to create a password-protected document in the iCloud version of iWork, hit the "Tools" icon, then "Settings," then "Set Password." In either the Keynote, Numbers, or Pages app for iOS, simply hit the wrench icon and then "Set Password." Password-protection will work no matter what device you set it up on or are accessing it from.
Using Preview for PDFs
Preview, Mac OS X's native image- and PDF-displaying app, also has a built-in feature for password-protecting PDF documents that contain important information. Note that this will not work on image files, only PDFs.
- Open a PDF in Preview.
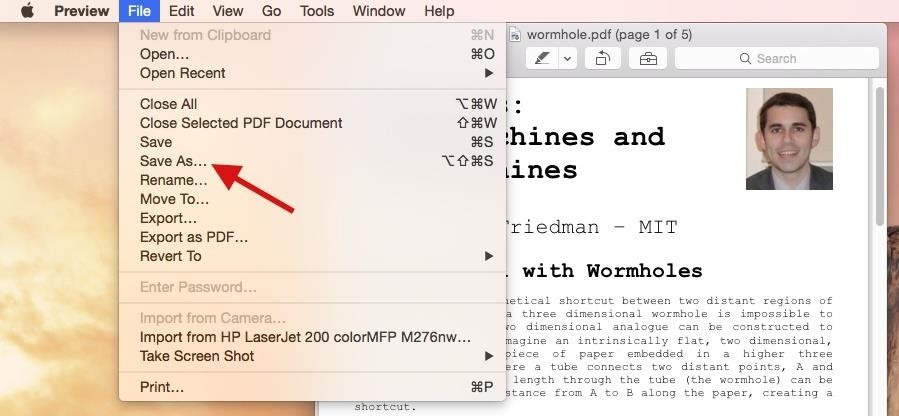
- Select "File" in the menu bar, then hold down on the Option key on your keyboard and select "Save As." Alternatively, you can use the keyboard shortcut Option Shift Command S.
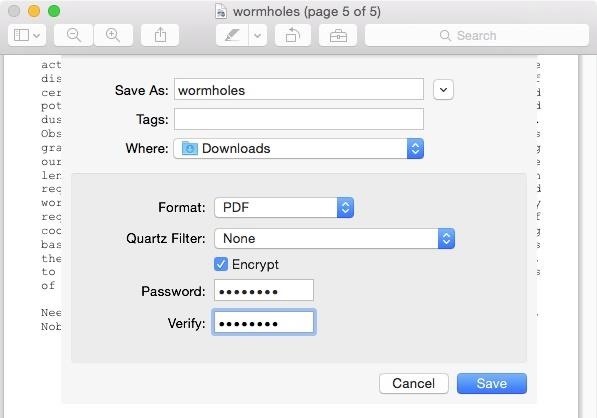
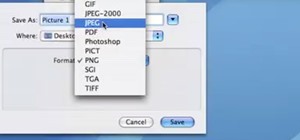
- Check the "Encrypt" box below the Format and Quart Filter options.
- Enter a password and verify it.
- Click on "Save."
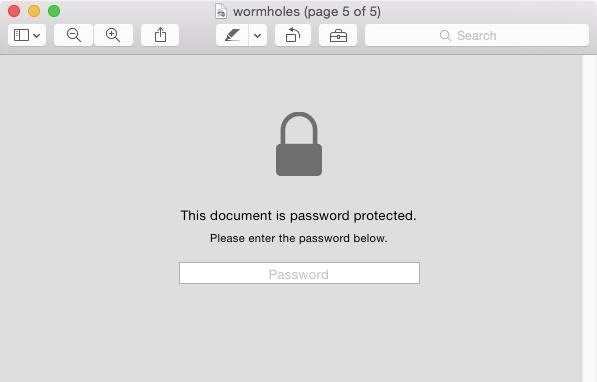
Your file will then appear with a black lock icon in the Finder. When you open it, Preview will prompt you to enter the password.
Again, this only works for PDFs. When you go to the "Save As" dialog window for pictures, the option to encrypt will not show up. To remove password-protection, simply follow the steps above again, only uncheck the "Encrypt" box, then delete the old password-protected file.
Using "Save as PDF" from TextEdit or Web Browsers
If you want to quickly password-protect a file from TextEdit, Safari, Google Chrome, Firefox, etc., it's just as easy as using Preview, only you'll be utilizing the "Save as PDF" feature in the Print options. From a webpage or document, simply:
- Go to "File" in the menu bar, then choose "Print." (Or just use the Command P keyboard shortcut.) In Google Chrome only, use Option Command P instead, or select "Print using system dialog..." in the Chrome print options.
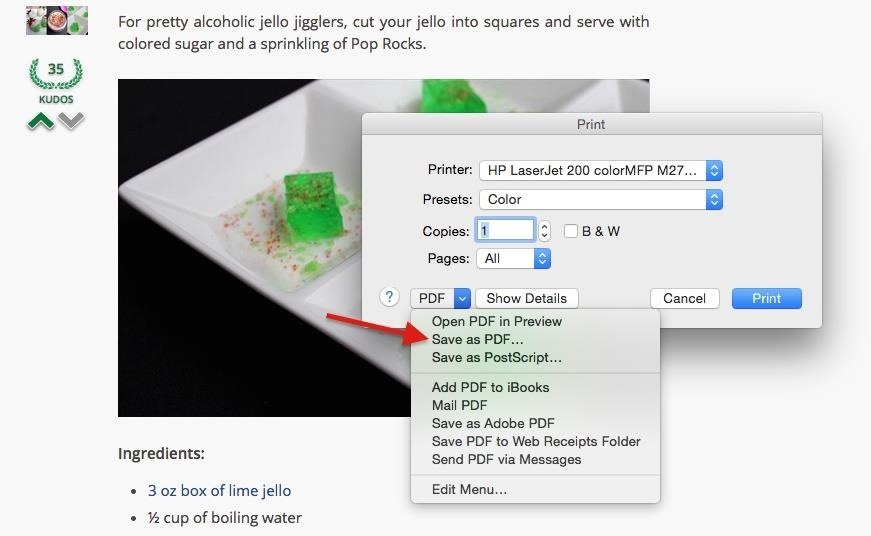
- Select "Save as PDF" from the drop-down box in the bottom left.
- Name your file, then choose "Security Options."
- Check the box next to "Require password to open document."
- Choose a password and verify.
- Click on "OK."
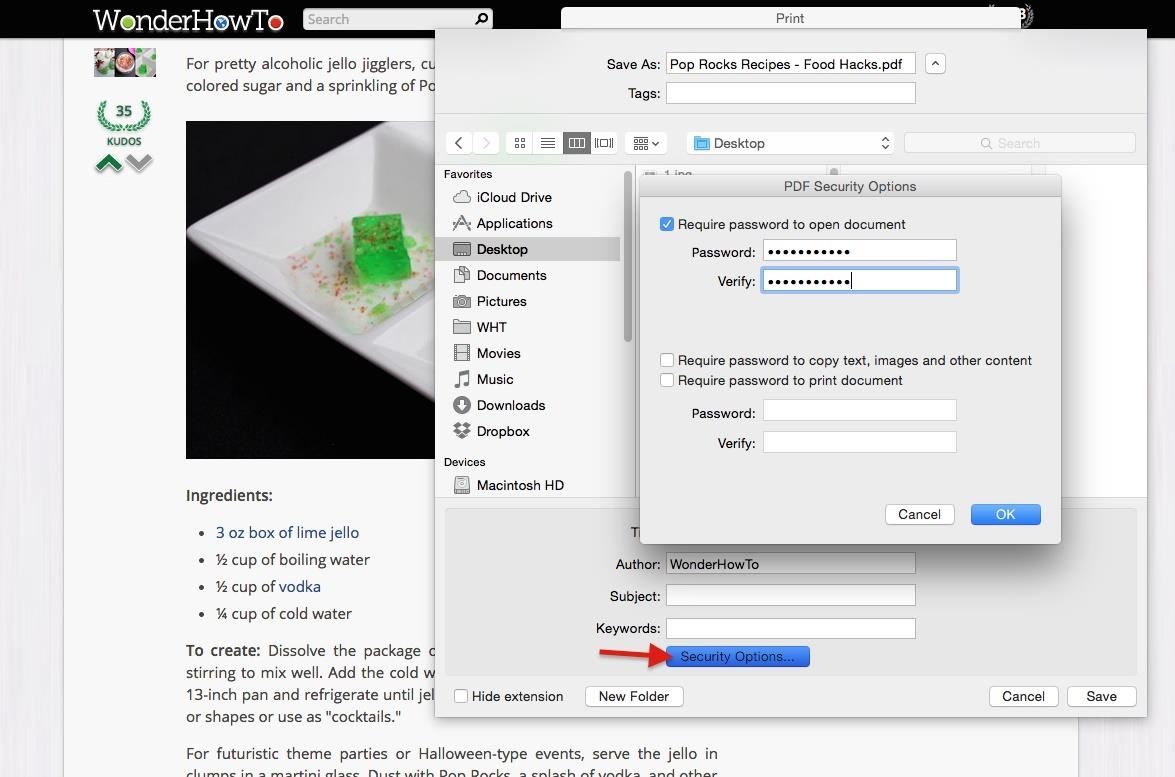
Additionally, if you don't mind people seeing the PDF, but don't want them messing with it or printing, you can set passwords for either or both of those options as well. To remove password-protection, use Preview (see section above).
Using Microsoft Office for Word Documents
There are password-protection features built right in to the Office for Mac 2011 and Office for Mac 2016 suite, which includes Excel, PowerPoint, and Word. All of them have different ways of going about the process for some reason, so I'll breakdown each method. Let's start first with Word.
Word for Mac 2011:
The following method applies only to the 2011 version of Word for Mac. See the next method for how to do it in the 2016 version.
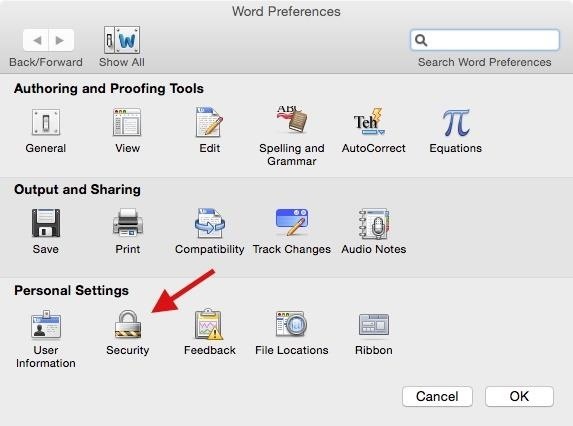
- From the menu bar, go to "Word" and click on "Preferences."
- Go to the "Security" section.
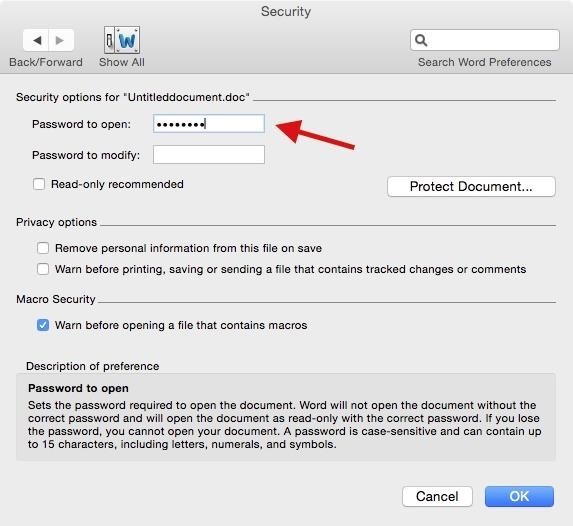
- Enter a password into the "Password to open:" field. You can also choose to place a password to modify the document. Note that there is a 15-character limit.
- Click on "OK" when you're done.
- Word will then ask you to reenter your password. Make sure to memorize it, as there's no other way to retrieve it.
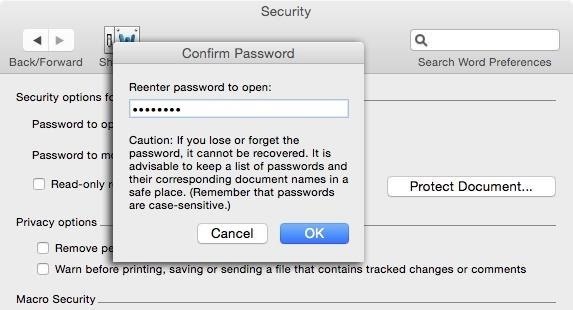
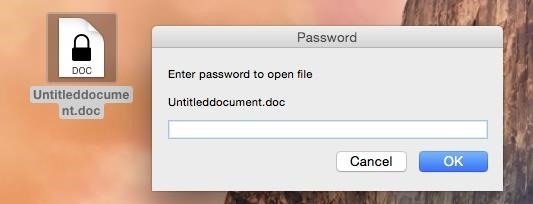
Now, when you open the locked Word document, you'll be asked to enter your password.
Additionally, you can set passwords for letting people modify the document, and you can protect tracked changes, comments, and forms by choosing "Protect Document" in the Security window. To remove password-protection, simply follow the steps again and delete the password on the "Security" window.
Word for Mac 2016:
Password-protecting documents and changes have both been combined into the "Protect Document" option, so if you're trying out the 2016 version of Word, this is how you would do it. (It's way easier.)
- From the menu bar, go to "Tools" and click on "Protect Document."
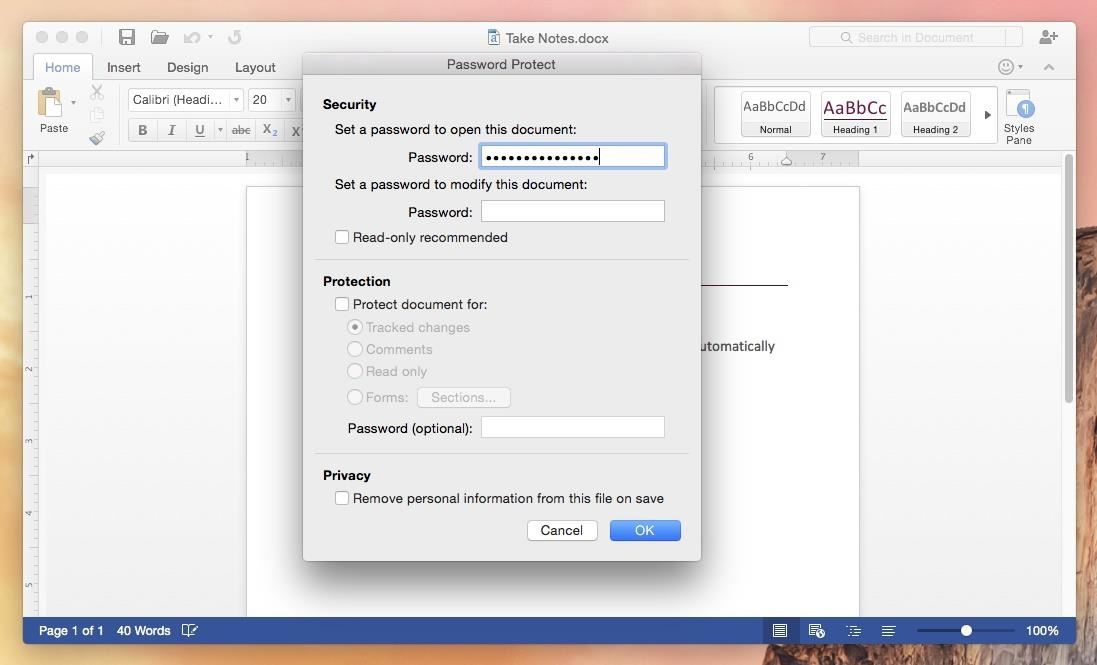
- Enter a password into the open this document section. (You can also choose a modify password, and document protection for changes from this menu).
- Click on "OK."
- Reenter your password for verification and press "OK" again.
To remove password-protection, simply follow the first step again and remove the password from the field.
Using Microsoft Office for PowerPoint Presentations
Again, as I said before, the process is different for PowerPoint presentations that with Word docs. It is also the same whether in PowerPoint for Mac 2011 or PowerPoint for Mac 2016.
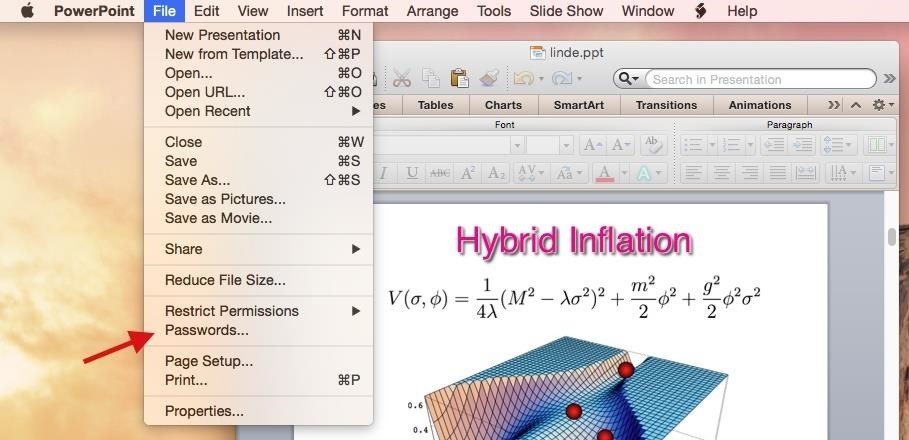
- From the menu bar, go to "File" and click on "Passwords."
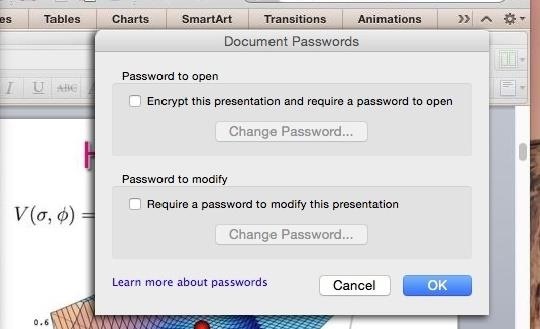
- Under the "Password to open" option, check the box next to "Encrypt this presentation and require a password to open."
- Now click on "Change Password."
- Set your password and verify it.
- Click on "Set Password."
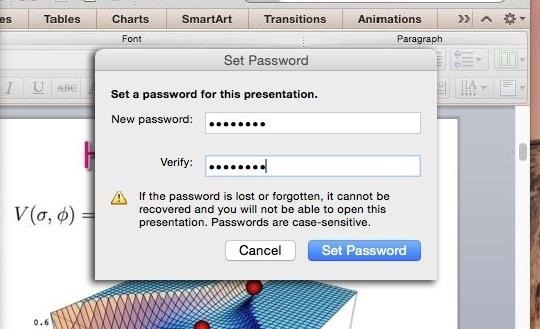
Your PowerPoint file is now encrypted. Additionally, you can choose only to password-protect modifications in the presentation. To remove password-protection, simply follow the first two steps again and uncheck the box for "Encrypt this presentation and require a password to open."
Using Microsoft Office for Excel Spreadsheets
Password-protecting files in Excel is very similar to PowerPoint, except that the windows are slightly different. It is also the same whether in Excel for Mac 2011 or Excel for Mac 2016.
- From the menu bar, go to "File" and click on "Passwords."
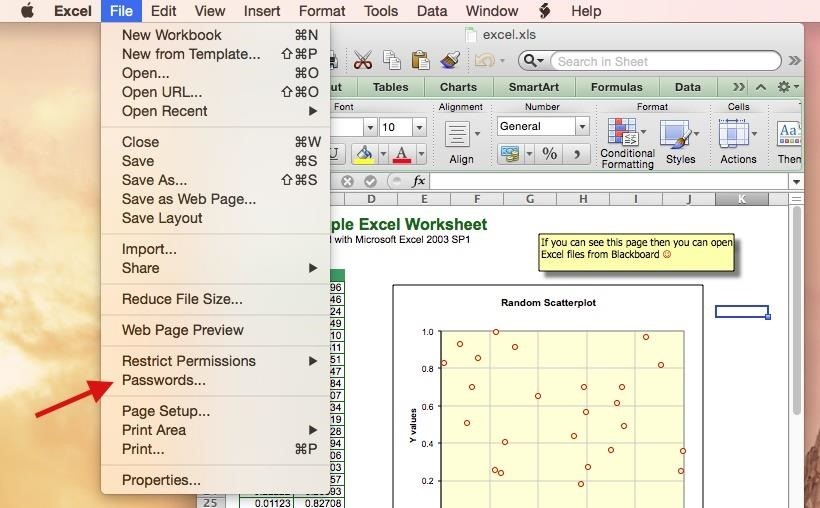
- Enter your password next to "Password to open."
- Click on "OK."
- Verify your password on the next window and select "OK" to finish.

Alternatively, you can choose "Save As" from "File" in the menu bar, then click on "Options" to set passwords in Excel.
Just like with Word and PowerPoint, you can choose to have a password for modifications. To remove password-protection, simply follow the steps again and delete the password on the "File Passwords" window.
Using Disk Utility for Folders
If you want to password-protect other files in Mac OS X, like photos, videos, and music, you can dump them in a folder and use the native Disk Utility feature to create an encrypted disk image of the folder. (Tip: If you want to encrypt individual files without creating a folder first, see the next section.)
- Open up Disk Utility (either from Spotlight or the "Utilities" folder in Applications).
- Go to "File" -> "New" and click on "Disk Image from Folder." (Alternatively, you can press Shift Command N on your keyboard as a shortcut.)
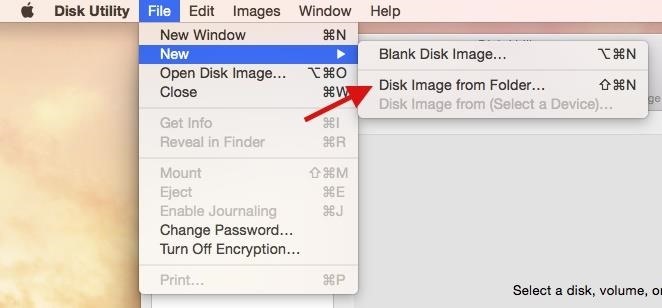
- Choose a folder then click on the "Image" button.
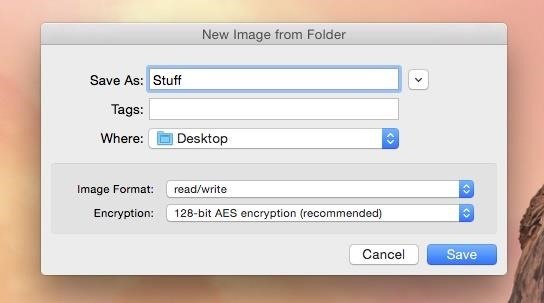
- In the popup window, select "read/write" for Image Format and "128-bit AES encryption" for Encryption. (You could also choose 256-bit, but it's slower.)
- Hit the "Save" button.
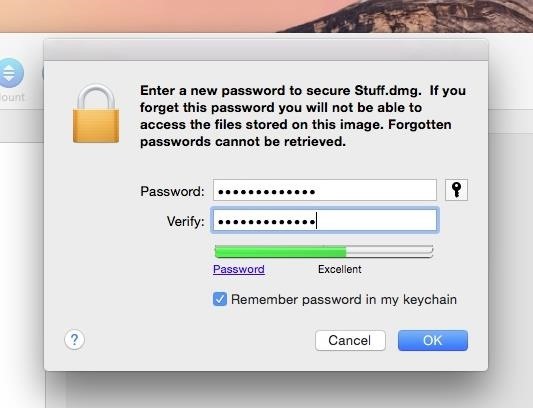
- Enter your password and verify it.
- Uncheck the box next to "Remember password in my keychain." (Leaving it checked will allow you to open the folder without entering the password, since it's stored in your keychain.)
- Click on "OK."
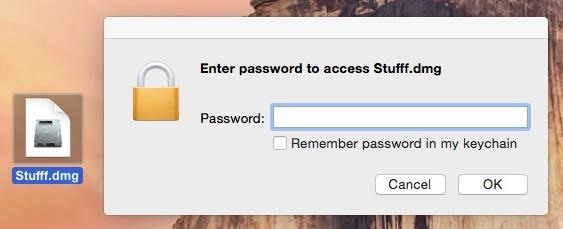
- To open the folder, double-click on the .dmg that was created.
- Enter your password, hit "OK," and your folder will open.

Make sure to unmount the disk image when you're done using it, so that it can go back to being password-protected. And make sure to also delete the original folder, since Disk Utility does not automatically delete it after creating a disk image (see the next section for a way that will automatically delete it).
Using Automator to Simplify the Disk Utility Process
Instead of following all of the steps above using Disk Utility each time you want to create a password-protected folder, you can use an Automator action to simplify the process. To make things easier, we've made one for you! Not only is this method easier, but it offers two more benefits: you can encrypt single files without putting them in folders first, and your original file will disappear seconds after the .dmg is created.
- Download our Encrypt Image action onto your Mac.
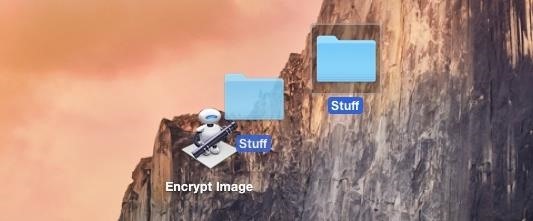
- Unzip the file and place the Automator action wherever you want (I chose my desktop).
- When you're ready to encrypt a file or folder, simply drag it over and release over Encrypt Image; the "New Disk Image" window will appear.
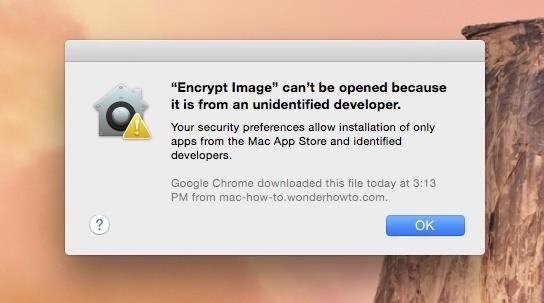
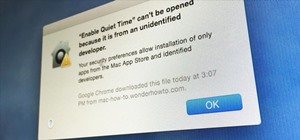
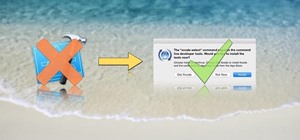
Note: If you see the following warning, make sure your Gatekeeper settings are configured properly. You will need to allow apps downloaded from anywhere. If you don't want to change your whole system's security settings, you can perform a one-time exception.
- Make sure that the options remain as seen below (Size: "Size Disk Image to fit contents"; When done: "Unmount and return the image file"; Encrypt is checked).
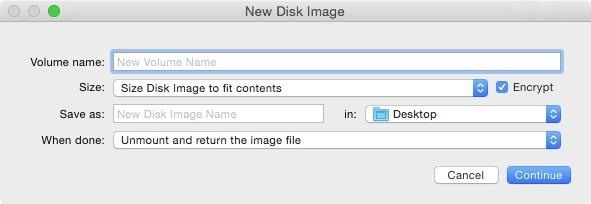
Optional: The .dmg file name and volume name will be the same as your original file or folder name. If you want to change one, or both, use the Volume name field for the volume name, and Save as for the .dmg name.
- Click on "Continue" when finished.
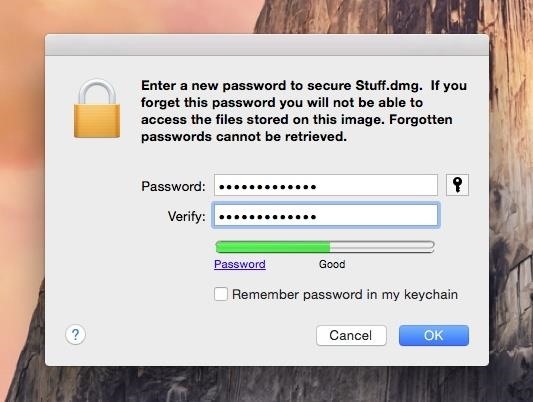
- On the next window, make sure that "Remember password in my keychain" is unchecked, then enter a password, verify it, and hit "OK."
Your file or folder is now encrypted just as in the previous section. Unmount the disk image whenever you're done.
Using Terminal to Compress & Encrypt Files & Folders
If you're not used to using Terminal in Mac OS X, it's probably best to stick with one of the above options. Otherwise, it's a fairly easy process that compresses a file or folder into a ZIP file, which will then be password-protected. The method is different for files vs. folders, however, so make sure you to see the appropriate instructions below.
Password-Protecting a File:
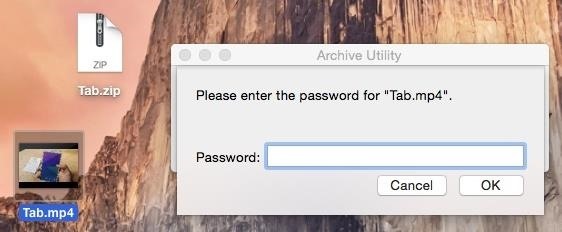
Note: For this section, we'll be encrypting a file called Tab.mp4, a video file, so simply replace that with whatever your file name is. Also, my file is on my desktop. If yours is elsewhere, change #2 to the appropriate directory; the ZIP will be created in the same directory.
- Open up Terminal (either from Spotlight or the "Utilities" folder in Applications).
- Type in cd Desktop and press the Enter key to focus Terminal on your desktop. (If your file is in another location, use that directory, or move it onto your desktop first.)
- Now enter the following command: zip -e Tab.zip Tab.mp4 (remember to swap out the file name/extension with yours, and the "Tab.zip" part must be the same as the file name or it won't work).
- After hitting Enter again, Terminal will ask you to enter and verify a password for the file. Do so.

Note: If your file name has spaces in it, add a \ after each word except the last, while keeping the spaces. For example, if the file was this is mine.jpg, it would be zip -e this\ is\ mine.zip this\ is\ mine.jpg.
- After a few seconds, your file will be converted to a ZIP file, encrypted and on your desktop. Open it up to test it out.
Password-Protecting a Folder:
The process for encrypting a folder is slightly different. Using the instructions for files above, simply add a /* to end of #3.
For example, if your folder name is Pictures, it would be zip -e Pictures.zip Pictures/*. If your folder has one or more folders contained within, adjust it slightly to zip -er Pictures.zip Pictures/* instead.
More Ways to Password-Protect Files & Folders
For everything else, there are several applications that you can use to easily protect your files, but the majority of them will cost you a bit. Other options include
- Hider 2: This app uses AES 256-bit encryption. All files/folders are hidden from Finder and Spotlight, and will appear in the normal places after being accessed via the app. You cannot share password-protected files using this app. It costs $19.99, but there is a 15-day trial available.
- Encrypt Tool: This is a menu bar app that encrypts any type of file, but reviews state some issues with it, so you might want to contact the dev with any questions before buying (it costs $3.99).
- File Crypt Pro: This app lets you drag and drop files into their app, which are protected with an AES-Twofish cascade encryption algorithm. (Price is $4.99.)
Are there other Mac OS X applications out there that you prefer? Let us know in the comments below. Also, make sure to connect with Gadget Hacks over on Facebook, Google+, and Twitter for more Mac tips.
Just updated your iPhone? You'll find new emoji, enhanced security, podcast transcripts, Apple Cash virtual numbers, and other useful features. There are even new additions hidden within Safari. Find out what's new and changed on your iPhone with the iOS 17.4 update.


Be the First to Comment
Share Your Thoughts